Custom Packaging Design: Stand Out on the Shelf
Your packaging is the final touchpoint before a purchase decision. Learn how custom packaging design transforms products into brands and drives sales through strategic design, material selection, and finishing techniques.
Walk into any retail store and look at the shelves. Within seconds, certain products catch your eye while others fade into the background. The difference almost always comes down to custom packaging design. Your packaging is not just a container for your product; it is a marketing tool, a brand statement, and often the single most important factor in a consumer's purchase decision. In this guide, we explore how to create custom packaging that makes your product impossible to ignore.
Why Custom Packaging Design Matters
Studies consistently show that packaging influences purchasing decisions at a remarkable rate. Research from Ipsos reveals that 72 percent of consumers say packaging design influences their buying choices. Even more striking, a significant percentage of consumers have tried a new product simply because the packaging caught their attention. For products competing on crowded retail shelves or in e-commerce listings, custom packaging design is not a luxury; it is a necessity.
Beyond the initial purchase, great packaging design drives repeat business and word-of-mouth marketing. The unboxing experience has become a powerful marketing channel in itself, with millions of unboxing videos on social media platforms. Customers who have a memorable unboxing experience are more likely to share it online, effectively becoming brand ambassadors for your product.
Key Principles of Effective Packaging Design
1. Know Your Customer
Effective packaging design starts with a deep understanding of your target audience. Who is buying your product? What are their values, preferences, and expectations? A luxury skincare brand targeting affluent professionals needs packaging that communicates premium quality and sophistication, with rigid boxes, metallic finishes, and minimalist design. A children's snack brand needs vibrant colors, playful typography, and packaging that is easy for small hands to open. Before you design a single element, define who you are designing for.
2. Prioritize Shelf Impact
Your packaging needs to work at two distances: from several feet away and from arm's length. At a distance, your packaging should be immediately recognizable and distinguishable from competitors. Bold colors, distinctive shapes, and prominent brand elements create shelf impact. Up close, your packaging should reward closer inspection with quality details, clear product information, and tactile finishes. Design your packaging to pass both tests.
3. Keep the Design Cohesive with Your Brand
Your packaging should be an extension of your overall brand identity. The colors, fonts, imagery, and tone should align with your website, social media, and other marketing materials. This consistency builds brand recognition and trust. If someone discovers your product on the shelf and then visits your website, the visual connection should be immediate and unmistakable.
4. Communicate Product Benefits Clearly
Consumers make rapid decisions at the shelf. Your packaging needs to communicate what the product is and why they should buy it within seconds. Use clear, concise copy and a logical visual hierarchy. The product name and key benefit should be the most prominent text elements. Secondary information like ingredients, usage instructions, and certifications should be organized and easy to find but should not compete with the primary message.
Choosing the Right Packaging Structure
The physical structure of your packaging is just as important as the graphic design. Here are the most common options for custom packaging:
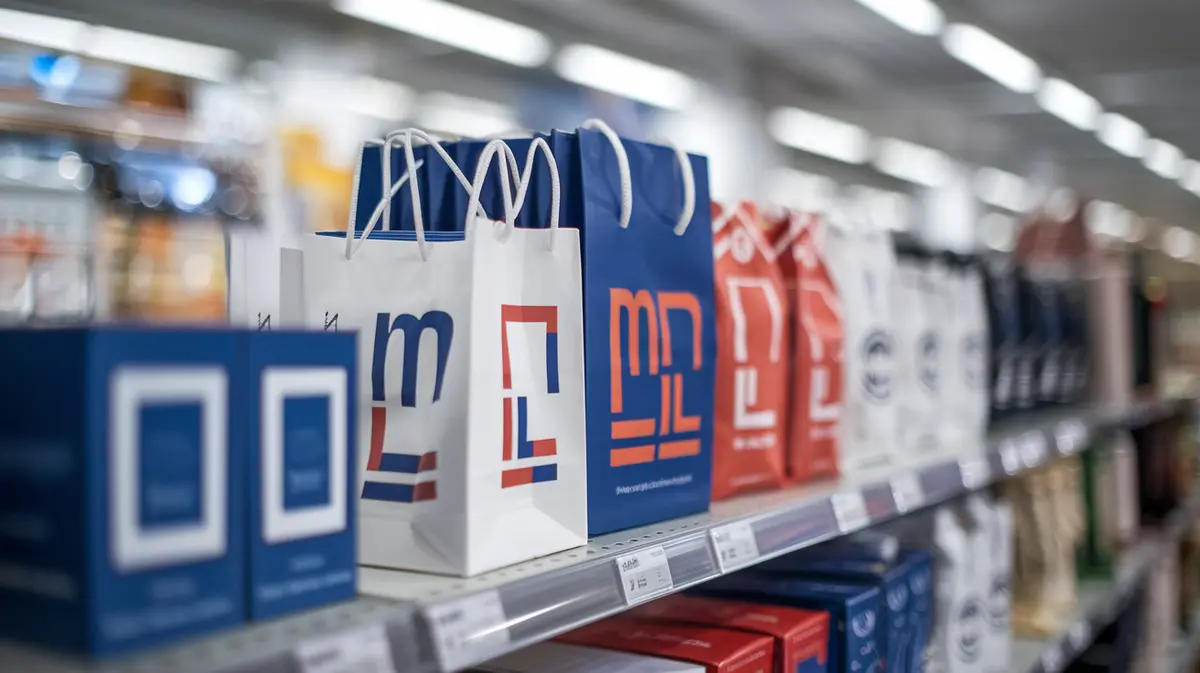
- Folding Cartons: The most common and versatile packaging structure. Made from paperboard that is printed, die-cut, and folded into boxes. Available in a huge range of sizes and configurations. Cost-effective for moderate to large production runs.
- Rigid Boxes: Also called setup boxes, these are non-folding boxes made from thick board wrapped with printed paper or fabric. They create a luxury unboxing experience and are commonly used for electronics, jewelry, cosmetics, and spirits. Higher cost per unit but unmatched perceived value.
- Corrugated Boxes: Made from fluted cardboard for durability and shipping protection. Custom printed corrugated boxes serve double duty as shipping containers and brand touchpoints. Kraft corrugated boxes with a single or two-color print create an on-trend artisan aesthetic.
- Flexible Packaging: Pouches, bags, and wraps made from printed film or laminated materials. Lightweight, cost-effective, and available with features like resealable closures and tear notches. Increasingly popular for food, pet care, and personal care products.
- Sleeves and Wraps: A printed sleeve or wrap over a plain container is a cost-effective way to add custom branding to standard boxes, bottles, or jars. Easy to change designs without retooling the primary container.
Material Selection for Custom Packaging
The material you choose communicates as much about your brand as the design itself:
Paperboard and Card Stock
Solid bleached sulfate (SBS) board is the premium choice for folding cartons. Its smooth, white surface produces the best print quality and is ideal for vibrant, full-color designs. Coated natural kraft (CNK) board has a natural brown appearance that works well for organic, eco-friendly, and artisan brands.
Sustainability-Forward Materials
Consumer demand for sustainable packaging is at an all-time high. Recycled paperboard, biodegradable inks, water-based coatings, and compostable materials allow you to reduce your environmental footprint without sacrificing quality. Prominently communicating your sustainable packaging choices on the box itself can be a significant selling point.
Finishing Techniques That Elevate Your Packaging
The right finishing techniques transform good packaging into exceptional packaging:
- Spot UV and Gloss Accents: Highlight specific design elements with a shiny, raised coating against a matte background. Creates a sophisticated contrast that draws the eye to your logo or key visuals.
- Foil Stamping: Apply metallic or holographic foil to your packaging for a premium, attention-grabbing effect. Gold and silver foils are classic choices, while rose gold and copper foils are trending in beauty and lifestyle categories.
- Embossing and Debossing: Add three-dimensional texture to your packaging through raised or recessed elements. Consumers instinctively touch embossed packaging, creating a physical engagement with your brand.
- Soft-Touch Coating: Apply a velvety, matte coating that creates an irresistible tactile experience. Soft-touch coating transforms the simple act of picking up a box into a sensory brand moment.
- Custom Die-Cuts and Windows: Cut custom shapes into your packaging to reveal the product inside, add visual interest, or create unique structural elements. Product windows let consumers see what they are buying while maintaining shelf appeal.
Labels: The Flexible Branding Solution
For products in bottles, jars, tubes, or generic containers, custom labels are the most cost-effective way to add premium branding. Modern label printing offers the same finishing options as box printing, including foil stamping, embossing, spot UV, and specialty materials. Clear labels create a no-label look that puts the product itself on display. Textured label materials like linen, kraft, and cotton add artisan character.
Working with a Custom Packaging Printer
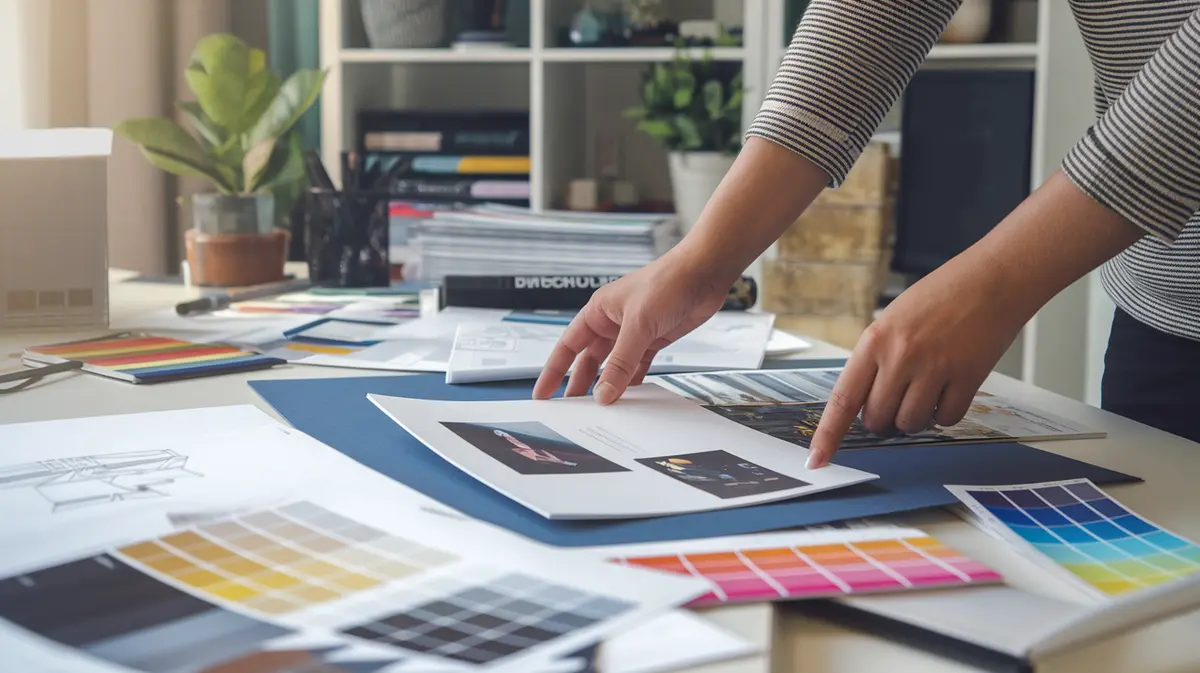
Creating custom packaging is a collaborative process that typically involves several stages:
- Structural Design: Work with your printer to select or create a die-line (the template that defines the box shape and dimensions). Many standard die-lines are available, or you can create a fully custom structure.
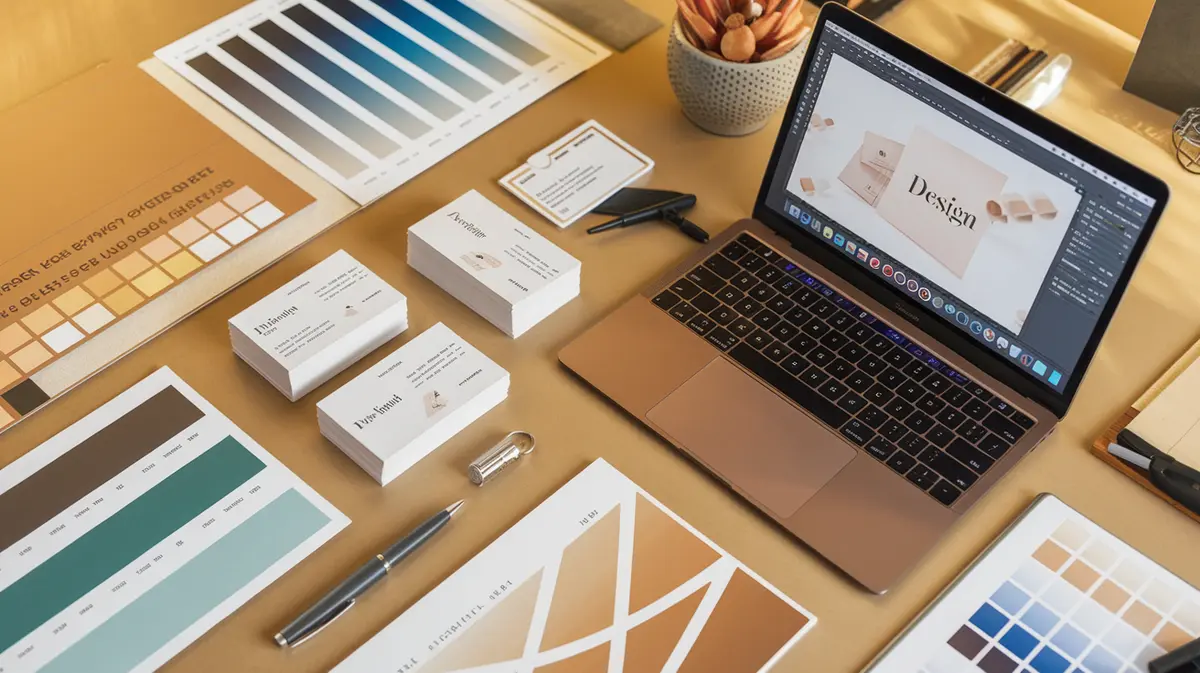
- Graphic Design: Apply your brand design to the die-line template. Your designer should work in Adobe Illustrator or InDesign and follow the printer's specifications for bleed, safe zones, and color profiles.
- Proofing: Review digital proofs carefully and request a physical prototype or press proof for critical projects. Colors, alignment, and finishing details should all be verified before production.
- Production: Once approved, production timelines typically range from two to four weeks depending on complexity and quantity.
Ready to create custom packaging that sets your product apart? At Printing247, we offer a full range of custom packaging and label solutions with expert guidance at every step. Request a quote to get started on packaging that drives sales and builds your brand.
Need Professional Printing?
Turn your designs into reality with Printing247. Premium quality, fast turnaround, and nationwide shipping.